Slider frames offer your customers a seamless way to rate products or services using an interactive sliding scale. This format is perfect for gathering nuanced feedback, such as NPS scores or preference levels over a standard dropdown menu.
Overview
Step 1: Adding the Frame
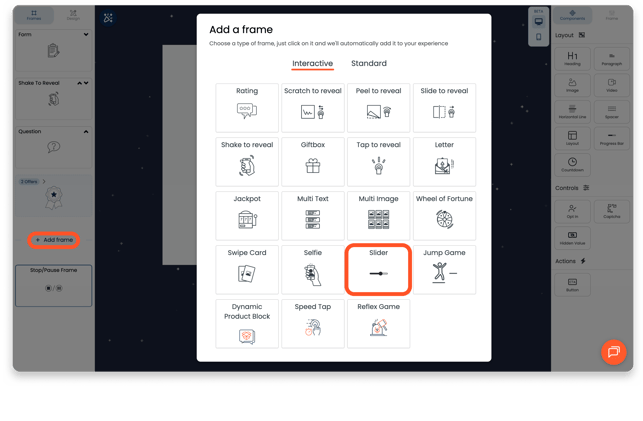
To begin building your scale, head into the Design Studio:
- Create: Select the "+" icon from the left-hand navigation bar.
- Locate: Choose Slider from the interactive menu options
- Identify: The name you choose for your frame will automatically populate the frame header.
- Map: This name is also used for the field mapping of any answers submitted by your customers, so keep it descriptive.
Step 2: Configuring the Scale
Once the frame is generated, you can define how the scale behaves:
- Custom Labels: Adjust the labels at either end of the slider (e.g., "Disagree" and "Agree") to provide clear context for the rating.
- Defining Steps: Choose exactly how many different options or "steps" are available for a customer to select from.
.png?width=656&height=430&name=Frame%201498%20(1).png)
Step 3: Formatting & Styling
Make the slider feel like a native part of your brand:
Text Styling: Access standard text formatting options to style your labels and headers.
Color Customization: Adjust the colors of the various elements that make up the slider, such as the track and the selector.
Precision Tools: Use specific hexcodes for exact brand matching or utilize the visual color picker for quick adjustments.