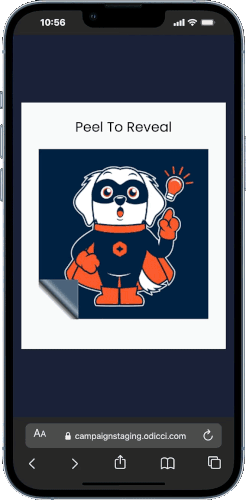
The Peel to Reveal experience is a tactile, engaging way to capture customer data during live events or via on-pack branding. By simulating the physical act of "peeling" back a layer to find a reward, you create an interactive moment of discovery that boosts brand engagement.
Note: This guide focuses specifically on the set-up for Peel to Reveal. For general setup and offer configuration, see our Design Your First Experience guide.
Journey Overview
- Step 1: Choosing your creation path
- Step 2: Studio Customization & Mechanics
- Step 3: Connecting the Rewards
- Step 4: Going Live
Step 1: Choosing your creation path
There are two ways to build this experience:

Step 2: Studio Customization & Mechanics
Click on Peel to Reveal frame in the Studio to open customisation options on the right. From here, you can fine-tune the look and feel:
- Cover Image: Upload the default image that users will peel away.
- Offer Images: Click this section to view, add, or edit the specific images revealed after the peel.
- Reveal Buttons: You can automatically add a Reveal button to the bottom of the peel area for Desktop or Mobile devices.
- Auto Next Frame: Check this box to automatically redirect the user to the next frame after a set number of seconds.
.png?width=598&height=380&name=Frame%201493%20(1).png)
Step 3: Connecting the Rewards
Your experience is powered by the offers you offer:
- Offer Setup: Configure your rewards on the Offers page.
- Visuals & Alerts: Assign a specific notification email and a offer image to each reward. These images are what players see immediately after the peel reveal.
Step 4: Going Live
Once your design is finalized, use the Confirm screen to launch your campaign:
- Publishing: Click the publish button to make your experience live.
- Embedding: Access codes for Pop-ups or Iframes to place your experience exactly where your customers are.