Fire any collected data from Odicci directly into Emarsys to increase customer knowledge, build triggers and automations to better engage newly and enriched profiles.
Experience Linking from Emails
Important: Emarsys can often have problems correctly rendering '#' in URLs because it was previously used by Emarsys to denote a merge tag which can result in URLs being re-ordered.
V3 API Integration (OAuth 2.0)
To get connected with the V3 Emarsys API, you will need to obtain API credentials for your Emarsys account. Follow the below instructions before attempting to connect Odicci:
- Open your Emarsys account and navigate to Settings>Management>Security Settings
- Select API and click create API credentials
- Choose Open ID Connect from the options shown

- Once loaded, ensure that you copy the ID, Client ID and Client secret and keep them safe for later in the process
- You should next enable the following permissions:
Here is a short video walking through the above steps:Category Permission Contact contact.getdata Contact contact.create Contact contact.lookup Contact contact.get Contact contact.fields.list Contact contact.update Contact contact.singleUpdate Contact contact.contacts.upsert Contact lists contactlist.create Contact lists contactlist.list Contact lists contactlist.contact.add Contact lists contactlist.contact.lookup Contact lists contactlist.contact.lookup.batch Contact lists contactlist.contact.get Contact lists contactlist.contact.list Contact lists contactlist.contact.count Contact lists contactlist.contact.ids Fields field.create Fields field.list Fields field.get Fields field.singlechoice.get Fields field.singlechoice.lang.list Fields field.singlechoice.trans.list Fields field.multichoice.list
{% video_player "embed_player" overrideable=False, type='hsvideo2', hide_playlist=True, viral_sharing=False, embed_button=False, autoplay=False, hidden_controls=False, loop=False, muted=False, full_width=False, width='3024', height='1964', player_id='205476045847', style='' %} - Now open your Odicci account and naviaget to Settings>Integrations
- Find Emarsys in the list and click edit
- Select 'V3' from the the API version dropdown
- Enter the credentials you saved from earlier into the corresponding fields: Client ID to Client ID, Client Secret to Client Secret, ID to Customer ID

- Click save
You should now see a message confirming connection.
Congratulations, you are now ready to use your new integration!
Field Mapping
Once you have created an experience which you would like to integrate with Emarsys. You can enable it by clicking the configuration settings within the studio (the cog on the top right-hand side).
You can now select integrations and tick the box next to Emarsys to enable the integration.
Finally, simply select which list you'd like to push your data to and choose which Odicci fields you'd like to map to the corresponding Emarsys fields using the dropdown menus:

V2 API Integration ( due to be deprecated at the end of 2026)
Step 1 - Enable your Emarsys Integration
Make a support request for your current Emarsys account to enable the odicci platform as an add-on.
Step 2 - Activate your Emarsys Integration
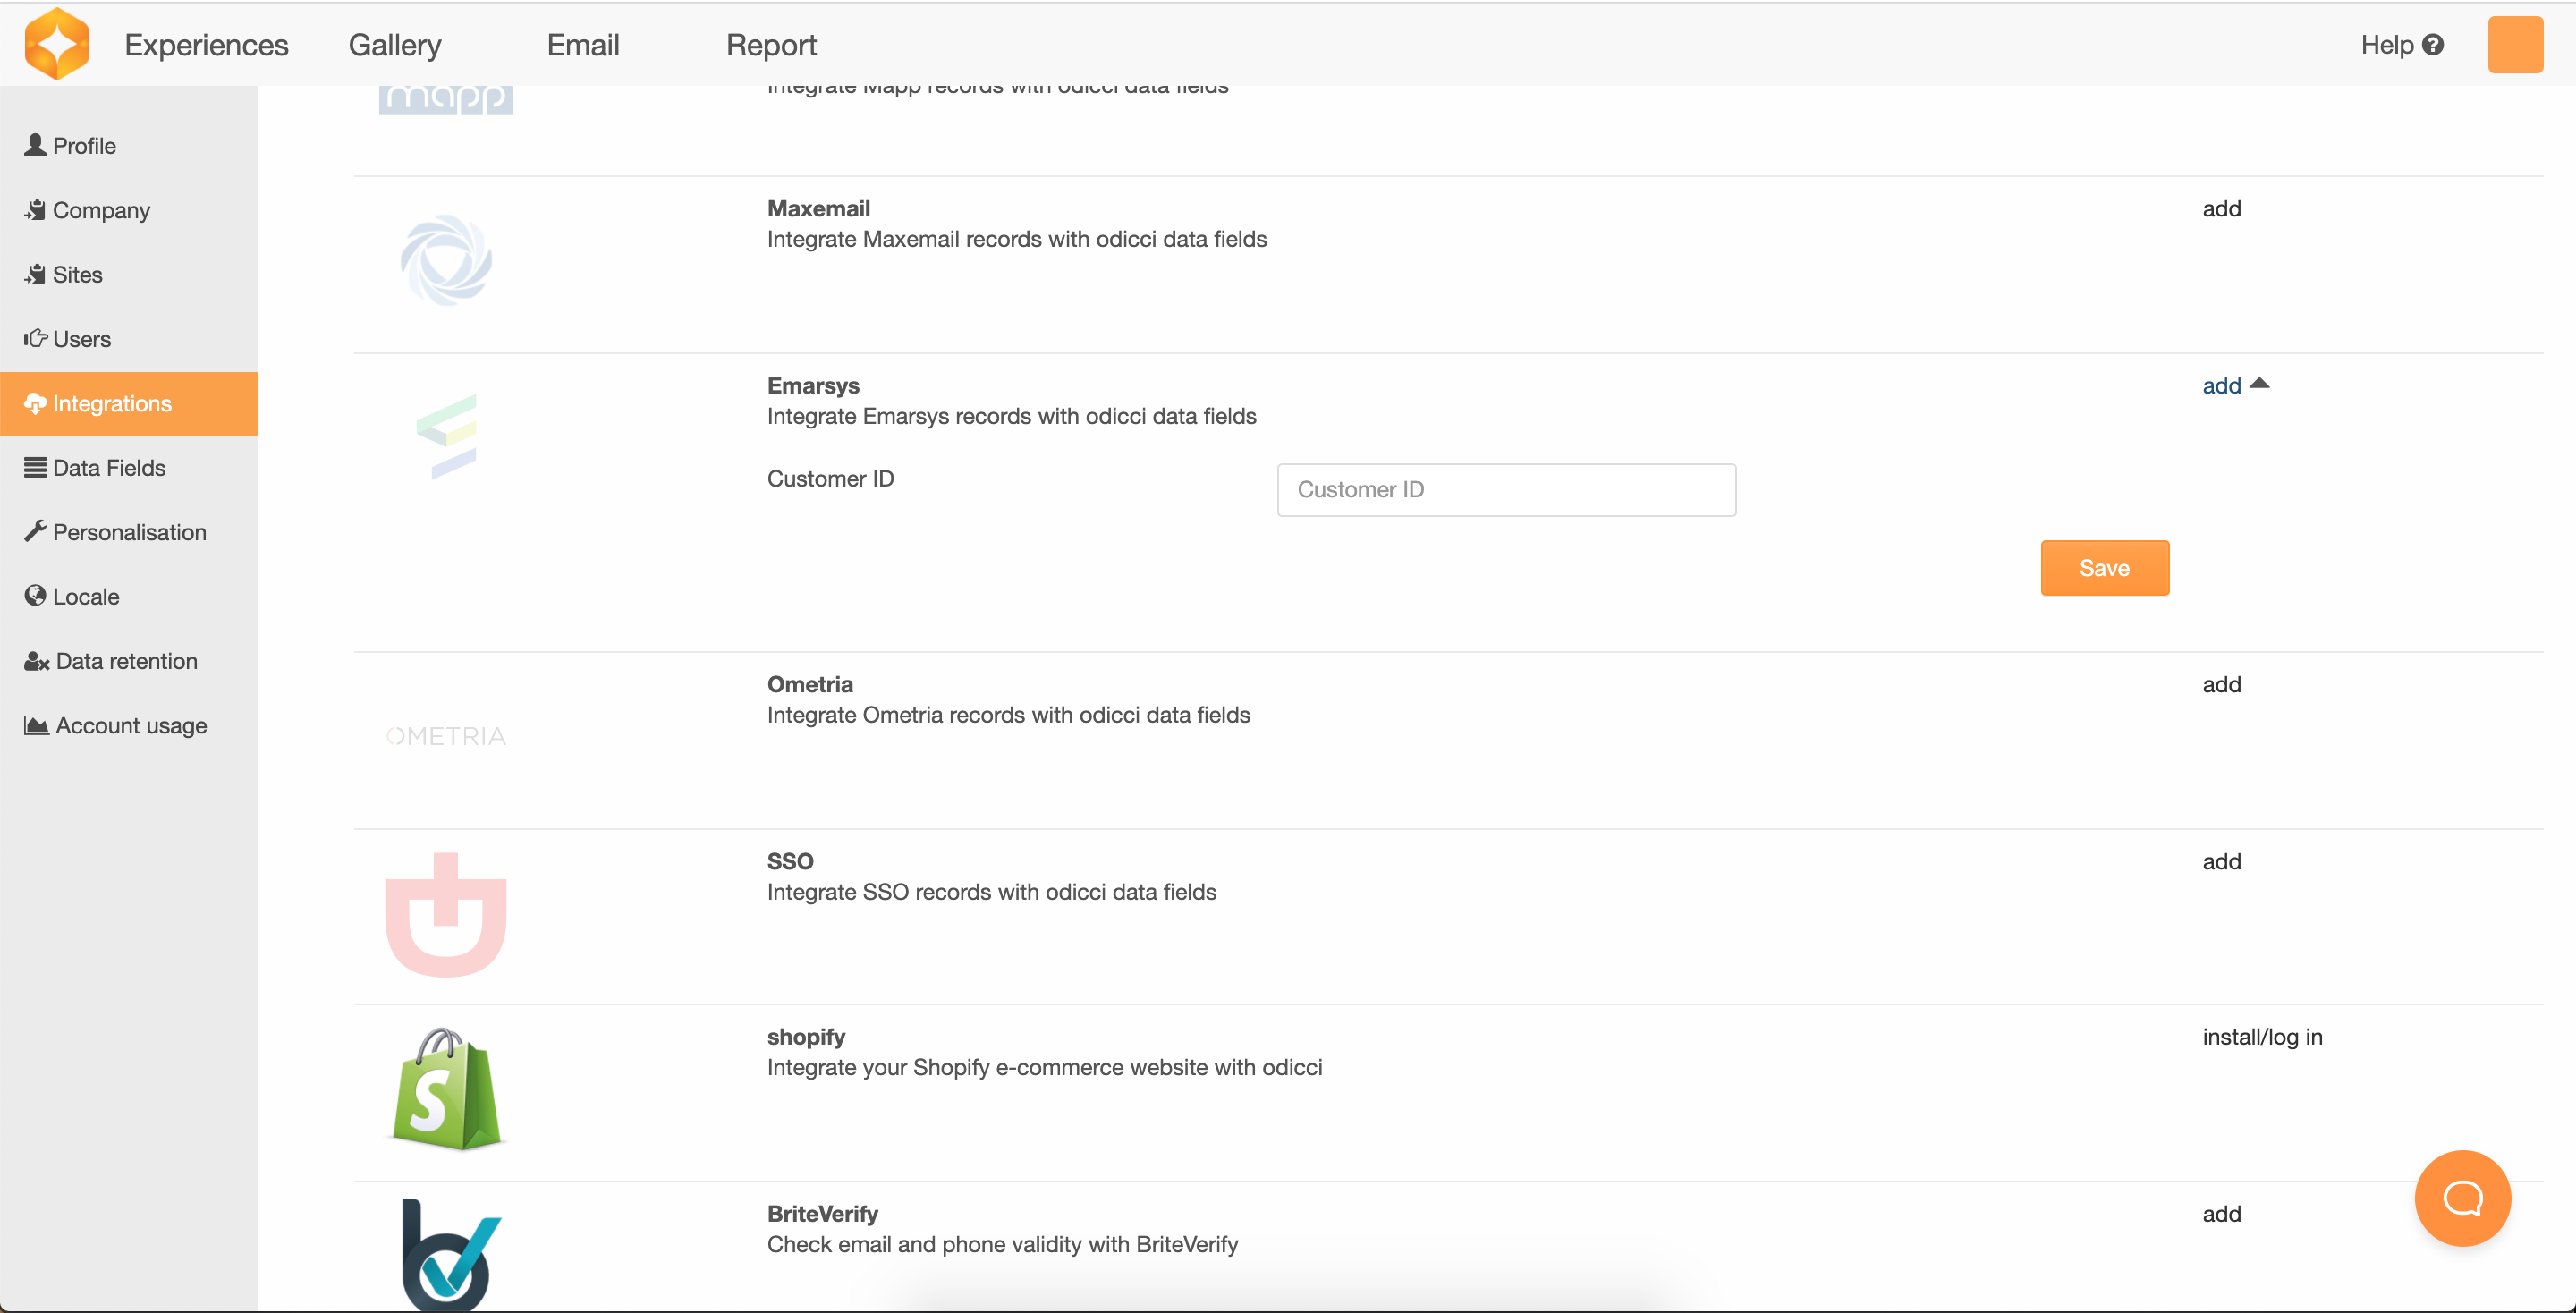
In your Odicci account click on the icon in the top right corner and select settings. Within settings navigate to Integrations, scroll to Emarsys and click on ADD.
 Make sure you have your Emarsys Customer ID at hand and copy / paste it to activate the integration.
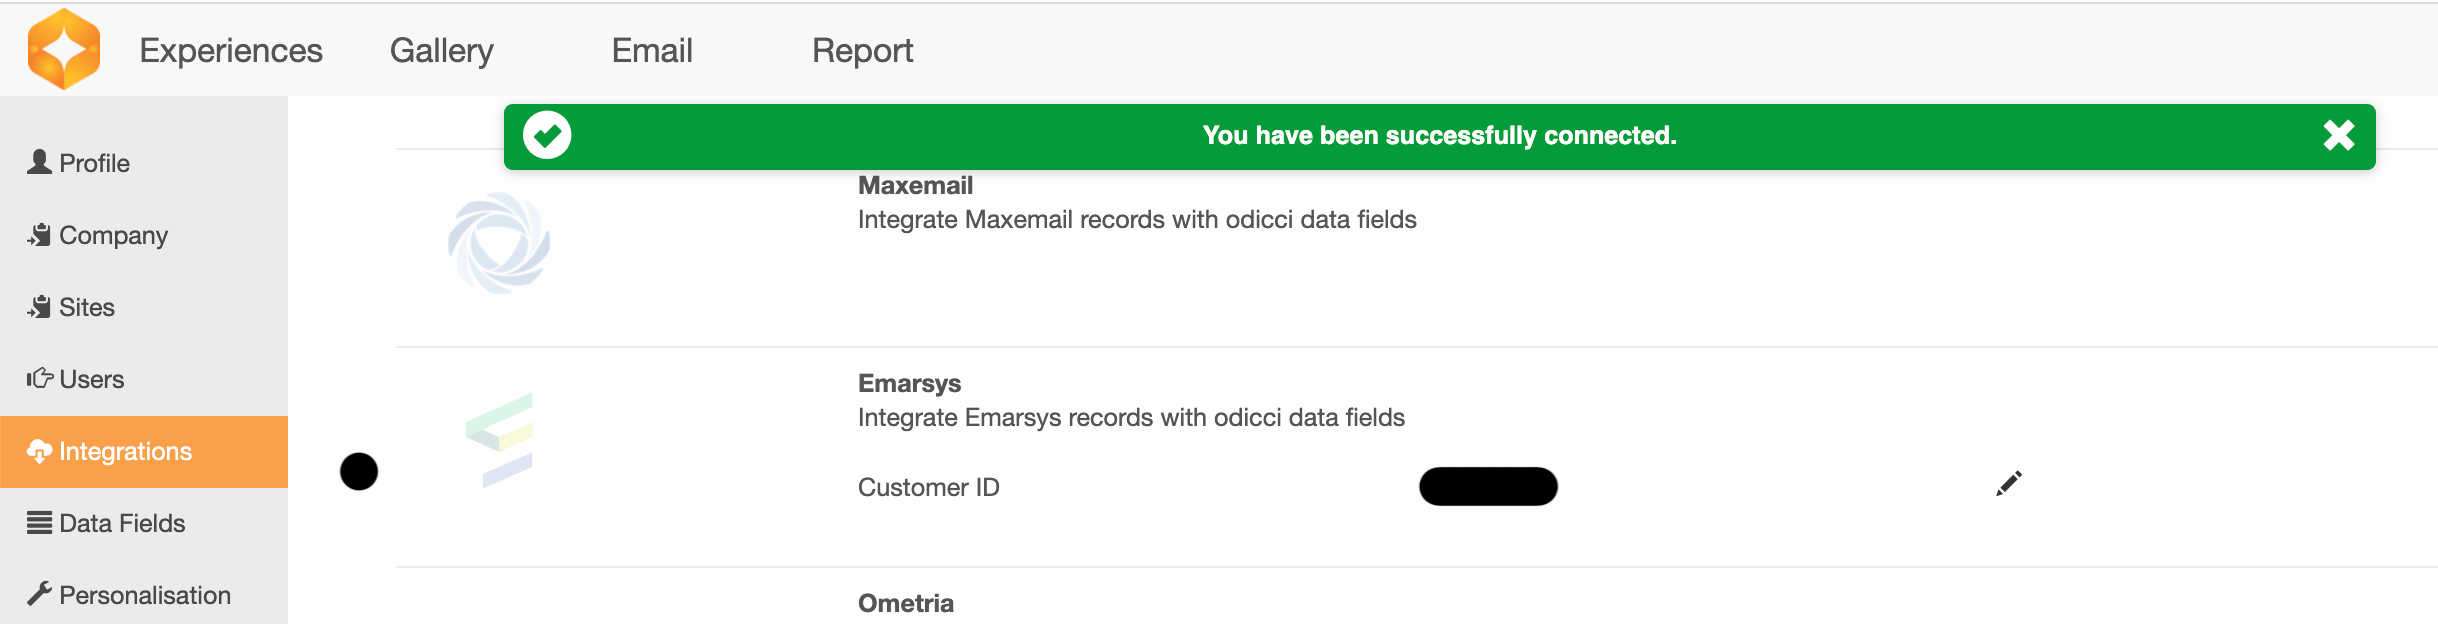 If the Customer ID is valid you will automatically you will see a success message.
Step 3 - Field Mapping
In your Odicci experience click on settings (cog wheel inside studio) to access the CRM integration. Click on Emarsys CRM integration to activate, select the Emarsys list where the data should be fired.
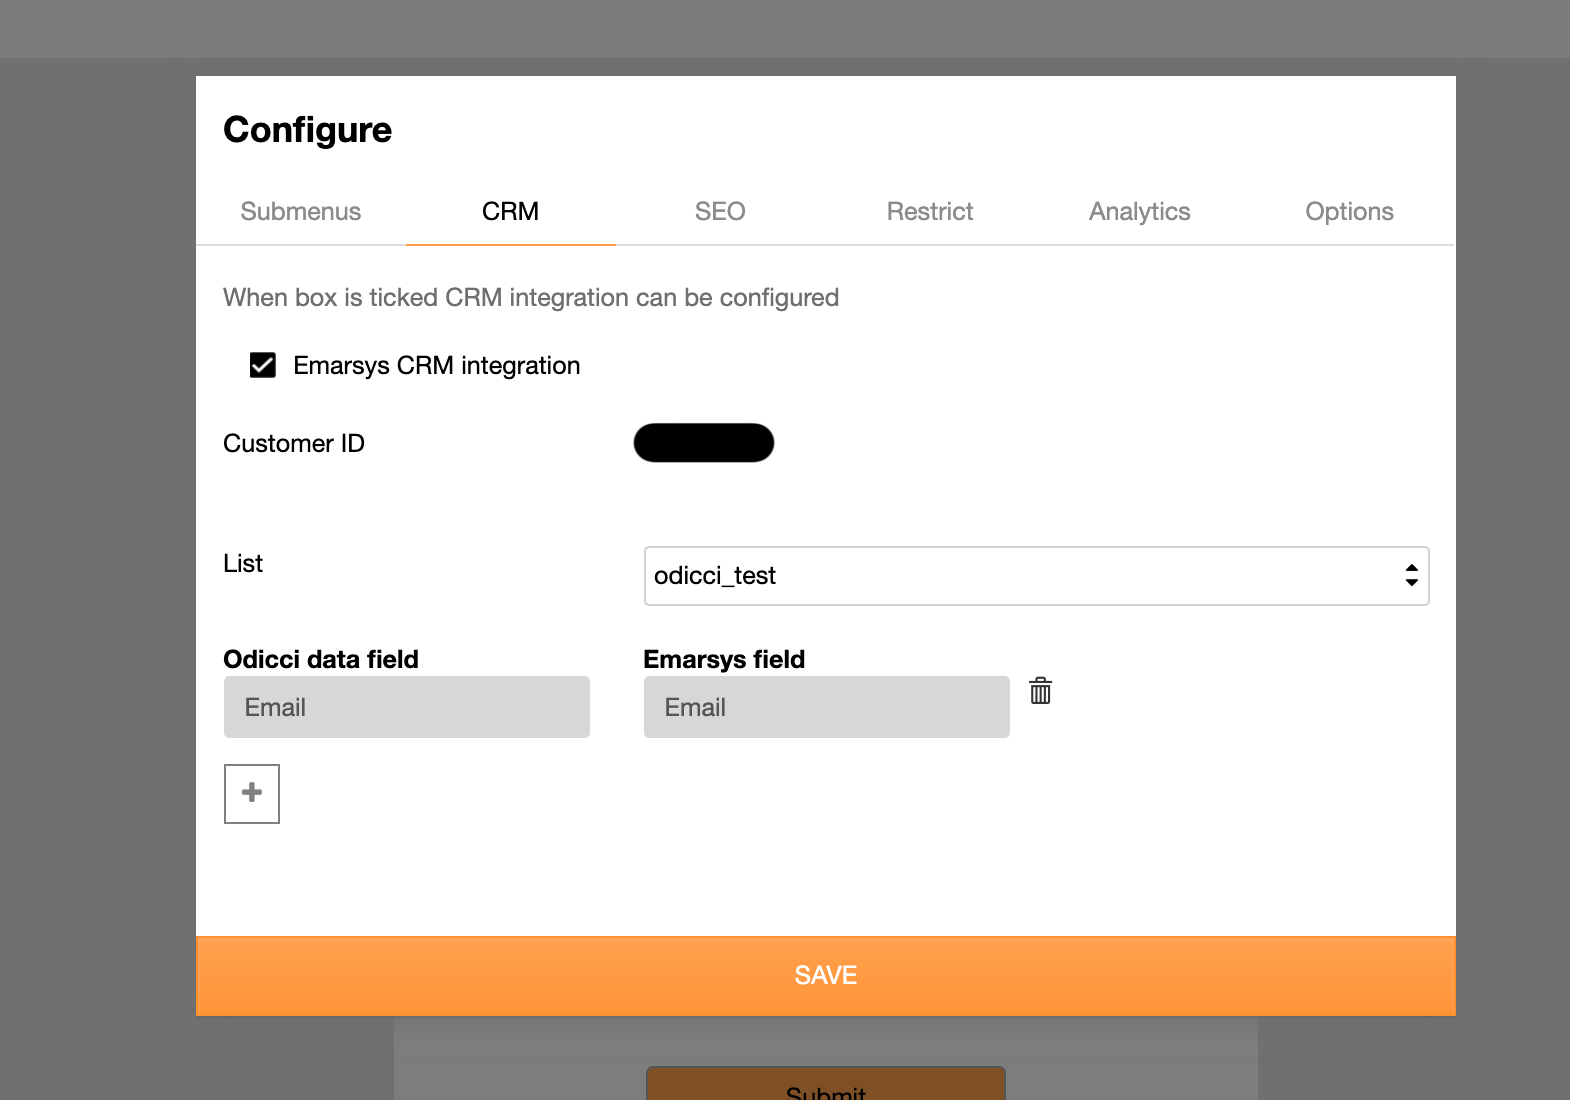
Data fields will automatically appear with Email first being directly mapped with the Email field from Emarsys. Click on the + sign to map additional fields.

Step 4 - Test Integration
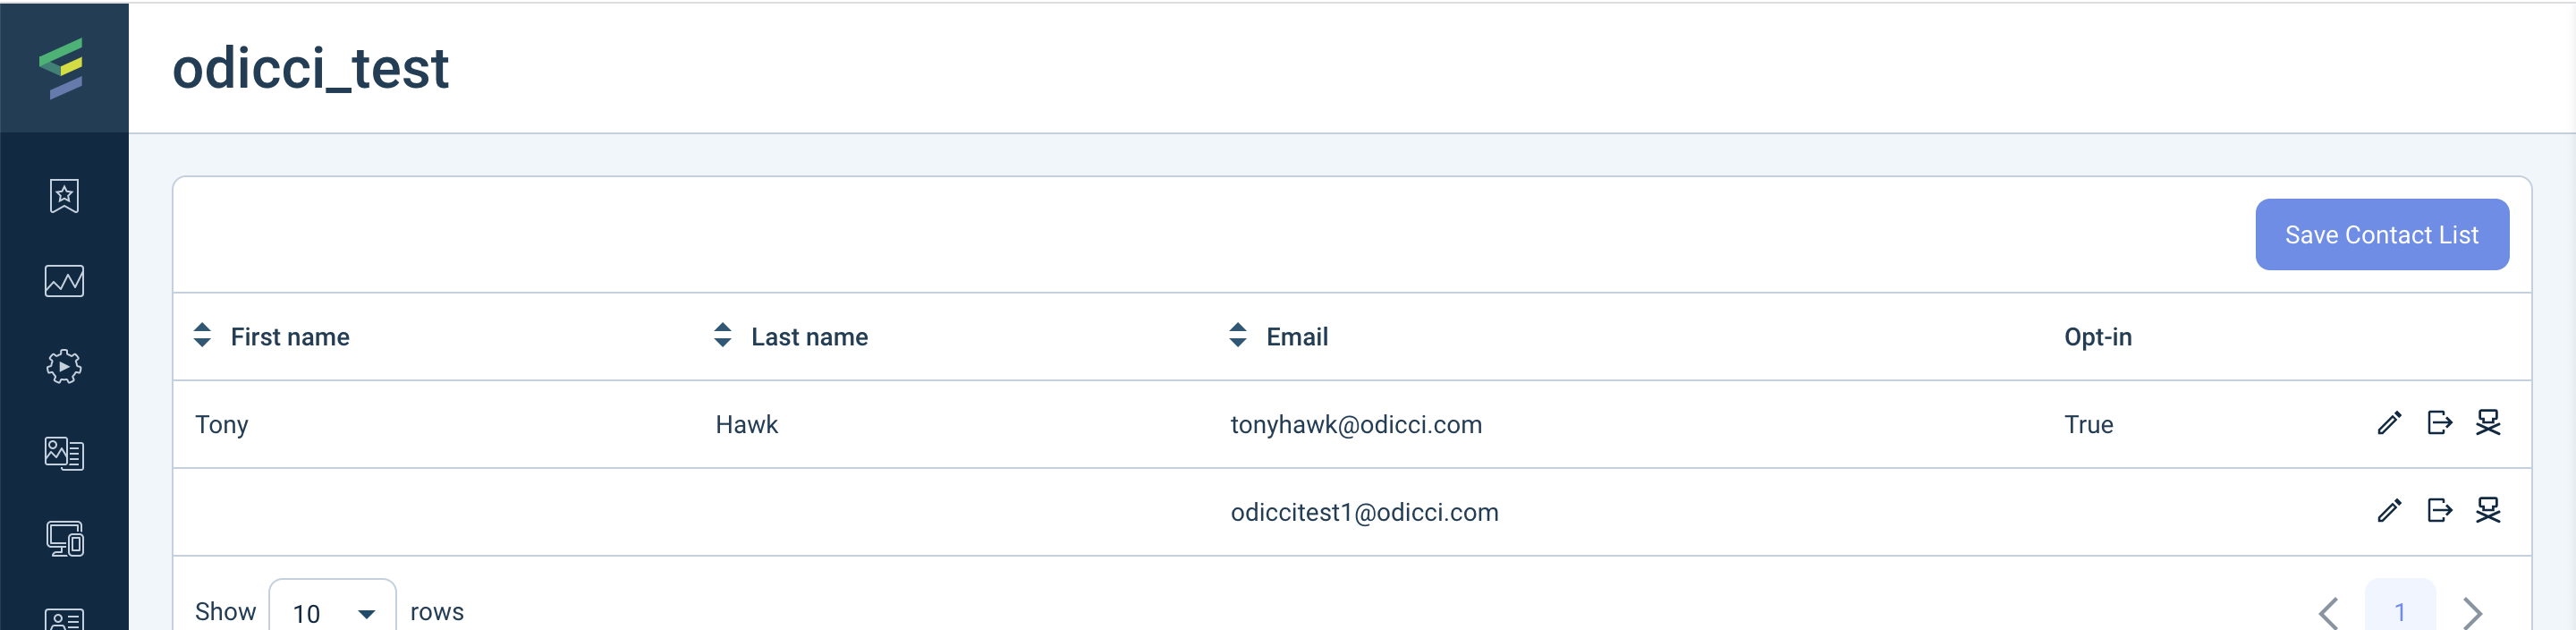
Once your integration has been setup in Odicci, publish your experience and enter some data to make sure all fields have been mapped correctly.
Then check in Emarsys that the data has gone through properly:
Odicci experiences can generate high volumes of API traffic in short bursts (for example during email campaigns, social pushes, or peak purchase hours).
To avoid delays or failures for end users (e.g. voucher issuance, wallet / account lookups, identity validation), please ensure that any rate limiting or throttling on your side is configured to allow the required traffic from Odicci.