Integrating Odicci with Eagle Eye allows you to create seamless experiences by combining Odicci's interactive content creation platform with Eagle Eye's customer loyalty and digital marketing solutions. This document outlines the steps required to integrate Odicci with Eagle Eye.
Overview
- Step 1: Getting Connected
- Step 2: Offer Configuration
- Step 3: Studio Configuration
- Step 4: Reporting
Getting Connected
Prerequisites
- Access to both Odicci and Eagle Eye accounts
- API credentials for Eagle Eye
- Client ID
- Client secret
Integrating your EE API to Odicci
- Hover over your profile icon on the top right of the screen.
- Click Settings. Then Click Integrations.
- Scroll to Eagle Eye and click Connect.
 . 3. Connect your Eagle Eye integration.
-
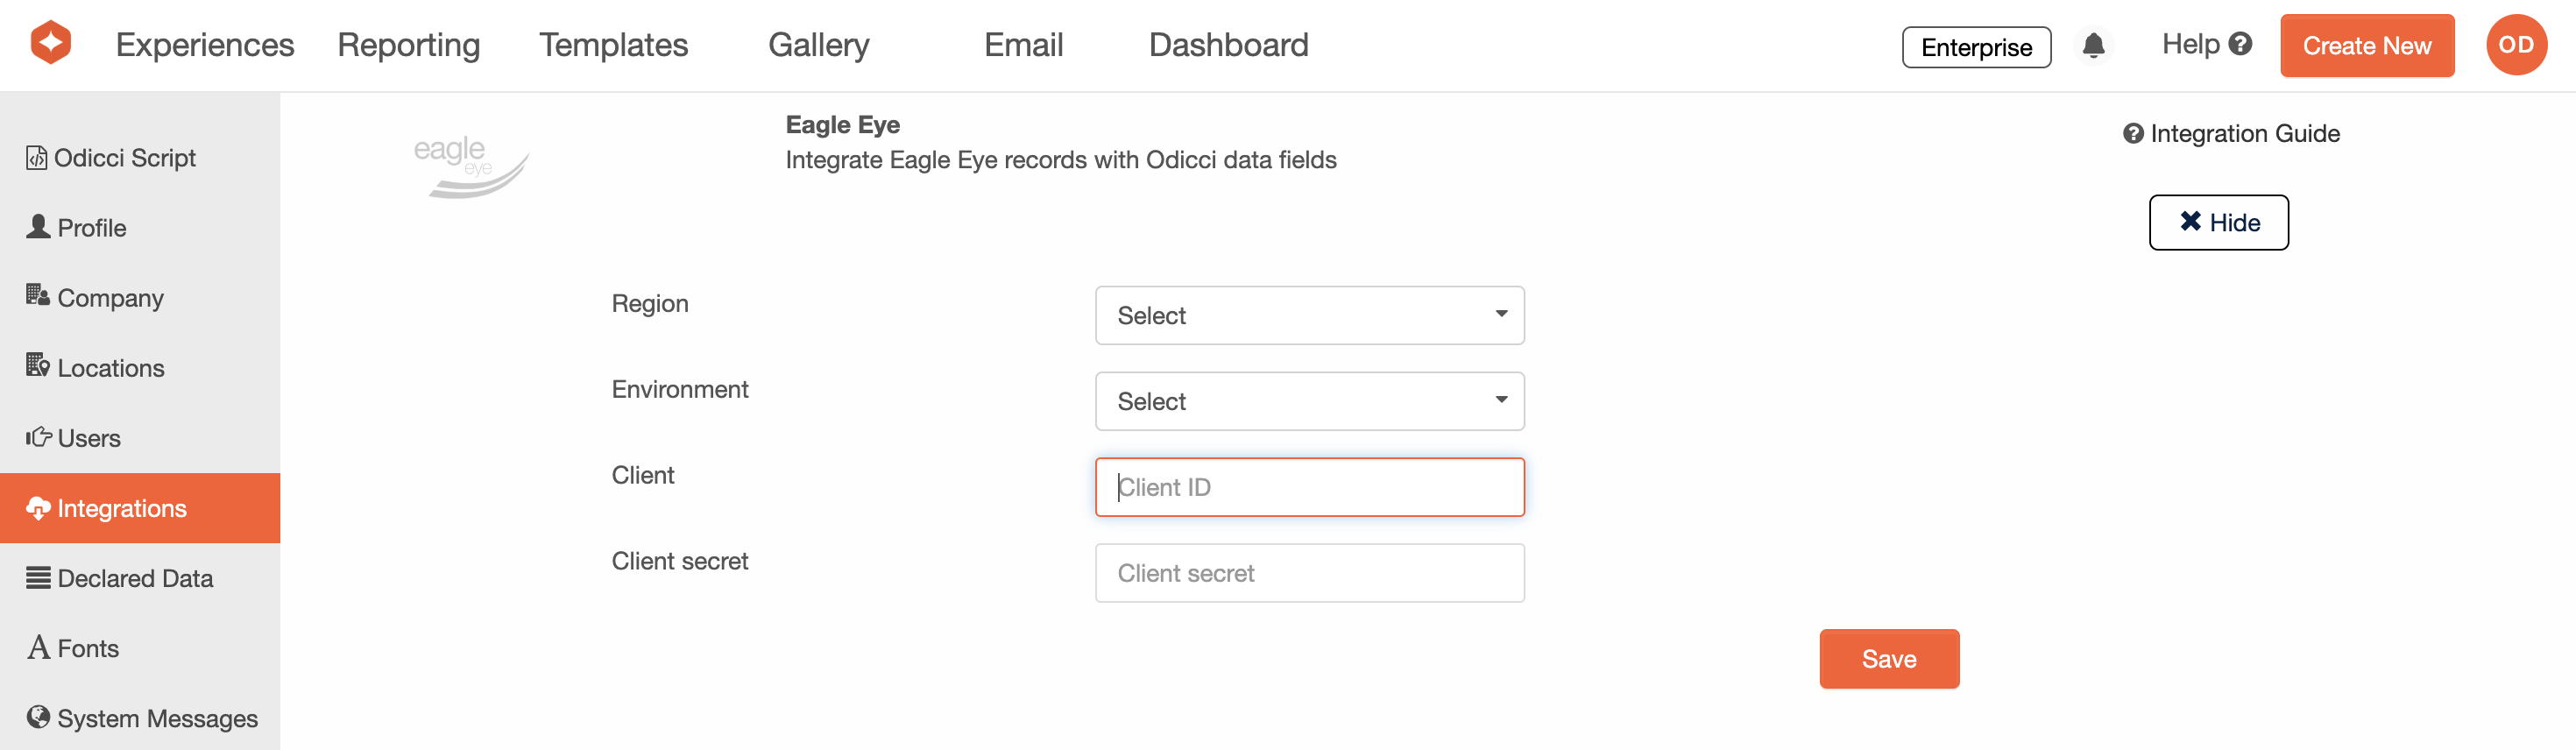
- Select your region from one of the following:
- Australia (AU)
- United Kingdom (UK)
- Americas (US)
- Select your environment:
- Production
- Sandbox
- Note: all Sandbox environments must be UK.
- Enter your Client ID from Eagle Eye.
- Enter your Client Secret key.
- Select your region from one of the following:
Offer Configuration
When the Eagle Eye integration is connected, it enables the option to assign points or coupons as offers. These can be configured by selecting 'Rewards' as the offer type.
From EE Reward Type you may then choose either Points or Coupon
Points
When points is selected you must choose set an amount of points to be allocated upon winning the offer.

If you want to allow replay if the offer is a 0 point offer, set the Category to 'Loser' and tick the 'Enable Replay' checkbox. This will prevent the game entry being redeemed and allow the customer to replay until they earn a 'Winner' offer.
Coupon
When choosing 'Coupon' you must enter the campaign Id you wish to allocate upon winning the offer.

Studio Configuration
To activate the Eagle Eye integration at an experience level, you first need to make a wallet ID and account ID available to use in the API calls. To do this you need to add a hidden field for both of these values onto the first frame of your experience.

Once added, you can now enable the Eagle Eye integration for the experience via rge studio configuration.
- Click the configuration cog.
- Select the integrations tab and tick the checkbox to enable the integration.
- Map walletID, accountID and pointsValue as a minimum.
If you use a pending points setup in Eagle Eye but want the points to be released immediately, tick the checkbox to enable 'Pending Points Release'.

Reporting
Once your experience is live, you can check on the status of the integration pushes within the reporting by referring to the 'integration push' column in the 'All Entries' report.

Here are the different status types:
- success - a full push has taken place and been successfully received by Eagle Eye
- skipped - no push took place as a 'Loser' offer was earned
- failed - the integration push failed (contact customer support if this persists)